Image Tool
Resize
Related Links: Image Tool Overview | Logo MakerYou will see the following screen when the Administration first loads the Image Tool's Resize options:
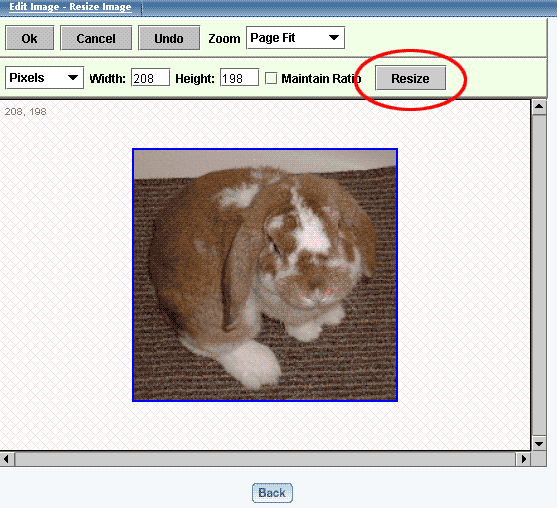
If you check the "Maintain Ratio" box before you change the height or width, then you only need to change one of the dimensions as the Image Editor will then automatically maintain the correct proportions by adjusting the other dimension to match. Please keep in mind that the maximum size that you can save your image as is 1200 x 1200 dots per inch (or dpi). When you are done adjusting the image dimensions, click on the button "Resize" to store your changes. To the left and above your image, the gray text will inform you of the current size of the image. If this is correct, click on the button "OK".
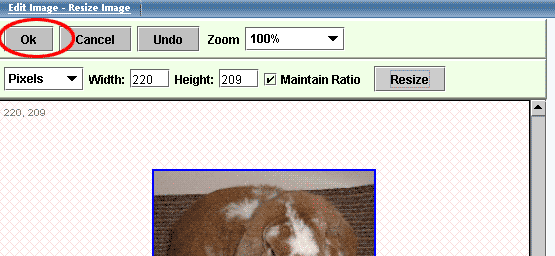
If the resized image dimensions is not correct, click on the button "Undo" to return the image to the previous size. If you are done resizing the image, click on the link "Save Image As" to save your image.
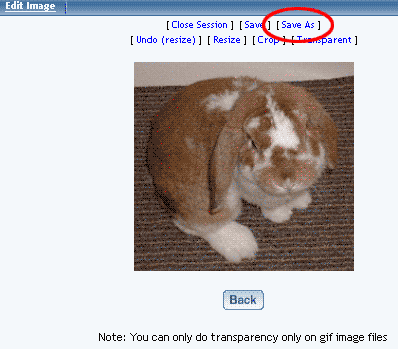
If you want continue to work on the image, click on another option to apply to your image.
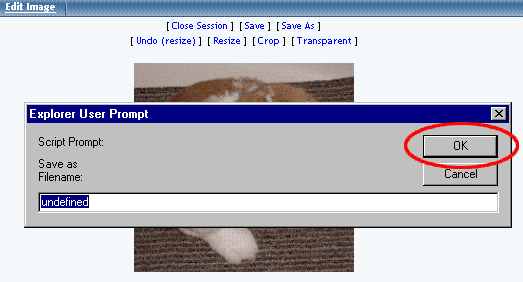
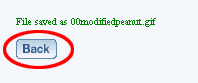
After you click on the link "Save Image As", enter in the filename that you want to save the image as, then click on the button "Save".
Back to Image Tool Overview
Back to the Previous Page